Installing new hardware can seem intimidating, especially when dealing with precision components like the 35-ds3chipdus3. This powerful chip can significantly boost your system’s performance, but only if installed correctly. In this comprehensive guide, we’ll walk through every step of the installation process in simple, easy-to-follow language. Whether you’re a first-time installer or just need a refresher, this 1200-word guide will ensure you get it right the first time.
Understanding the 35-ds3chipdus3 Chip
Before we dive into installation, it’s important to understand what makes the 35-ds3chipdus3 special. This high-performance chip is designed to handle intensive computing tasks with greater efficiency than standard processors. Engineers and power users favor it for its ability to manage heavy workloads while maintaining stable temperatures.
The chip’s architecture allows for faster data processing through optimized clock cycles and expanded memory lanes. What does this mean for you? Smoother performance when running demanding applications, whether you’re gaming, video editing, or working with complex datasets. However, these benefits only come with proper installation and setup.
Pre-Installation Preparation
Taking time to prepare properly will save you from headaches later. First, confirm that your system is compatible with the 35-ds3chipdus3. Check your motherboard specifications against the chip’s requirements, paying special attention to socket type and power delivery. Many installation problems stem from simple incompatibility issues that could have been caught beforehand.Gather all necessary tools before starting:
- An anti-static wrist strap to prevent electrostatic damage
- A precision screwdriver set with magnetic tips
- High-quality thermal paste (unless your chip includes pre-applied paste)
- Compressed air for cleaning the installation area
- A well-lit, clean workspace with ample room to work
Download the latest firmware and drivers from the manufacturer’s website. Having these ready before installation ensures you can immediately optimize performance after physically installing the chip.
Step-by-Step Installation Process
1. Power Down and Prepare Your Workspace
Begin by completely shutting down your system and disconnecting all power sources. This includes unplugging the power cable and removing any batteries if working with a laptop. Wait at least 30 seconds after powering down to begin work – this allows residual electricity to dissipate.
Open your computer case carefully, noting how panels and components are arranged. Take pictures with your phone if you’re concerned about remembering how everything fits back together. This simple step has saved countless users from reassembly frustration.
2. Locate and Prepare the Installation Area
Find the chip socket on your motherboard. It will typically be covered by a protective bracket or existing cooler. Remove any existing thermal paste from the surrounding area using isopropyl alcohol and a lint-free cloth. Use compressed air to clear away dust from the socket and surrounding components.
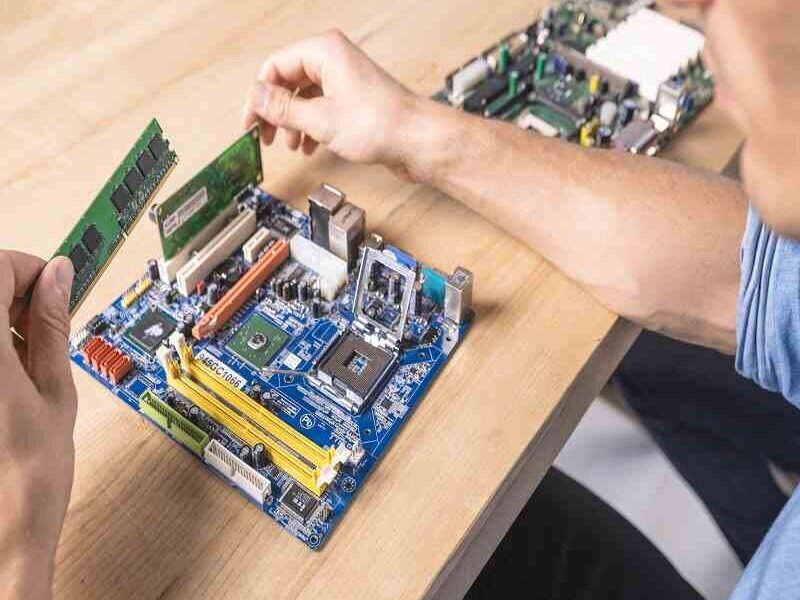
3. Installing the 35-ds3chipdus3
Handle the chip only by its edges to avoid damaging the delicate contacts. Align the golden triangle or notch on the chip with the corresponding marker on the socket. The chip should drop into place with minimal pressure – never force it. If it doesn’t seat easily, double-check your alignment rather than applying more force.
Once properly seated, secure the chip according to your motherboard’s mechanism. This might involve lowering a retention arm, screwing down a bracket, or engaging a latch system. Consult your motherboard manual if unsure about this step.
4. Applying Thermal Paste
If your chip didn’t come with pre-applied thermal paste, you’ll need to apply it now. A pea-sized drop in the center of the chip is typically sufficient. When you install the cooler, the pressure will spread the paste evenly. Avoid spreading it manually unless specifically instructed to do so in your cooler’s manual.
5. Installing the Cooling Solution
Carefully position your cooler over the chip, aligning it with the mounting points. Apply even pressure when securing it to ensure proper contact with the chip. Tighten screws in a diagonal pattern rather than going around in a circle – this helps distribute pressure evenly.
Post-Installation Setup and Testing
With the physical installation complete, it’s time to power up and configure your system. On first boot, enter your BIOS/UEFI to confirm the system recognizes the new chip. Check that temperatures appear normal (usually between 30-50°C at idle) and that all voltages are within recommended ranges.
Install the drivers and firmware you downloaded earlier. These optimizations are crucial for unlocking the chip’s full potential. After installation, run stress tests to verify stability. Free tools like Prime95 or AIDA64 can help identify any cooling or stability issues before they cause problems during actual use.
Troubleshooting Common Issues
Even with careful installation, you might encounter some issues:
System Fails to Boot
First, double-check all connections. Reseat the chip if necessary, ensuring perfect alignment. Verify that your power supply can handle the new chip’s requirements.
Overheating Problems
If temperatures spike under load, consider reapplying thermal paste or checking your cooler’s mounting pressure. Ensure all cooling fans are functioning properly.
Performance Not as Expected
Update to the latest BIOS version for your motherboard. Some performance features may need to be manually enabled in your BIOS settings.
Maintenance and Long-Term Care
To keep your 35-ds3chipdus3 running optimally:
- Clean dust from cooling components every 3-6 months
- Monitor temperatures periodically, especially after system changes
- Check for firmware updates quarterly
- Consider reapplying thermal paste annually if you use your system heavily
When to Seek Professional Help
If you encounter persistent issues after multiple troubleshooting attempts, or if you’re uncomfortable with any step of the process, don’t hesitate to consult a professional. Some motherboard warranties may be voided by incorrect installation attempts.
Final Thoughts
Properly installing your 35-ds3chipdus3 chip can transform your computing experience, providing noticeable improvements in speed and efficiency. While the process requires attention to detail, following this guide carefully will help ensure success. Remember that taking your time during installation prevents problems down the road.
For those who’ve completed the installation successfully, consider exploring advanced tuning options to further optimize performance. Many users find they can achieve even better results through careful adjustment of clock speeds and voltages, though this should only be attempted after thorough research.
With your new chip installed and optimized, you’re ready to enjoy faster, smoother performance across all your computing tasks. Whether you’re gaming, creating content, or tackling complex workloads, your upgraded system will handle it with ease.